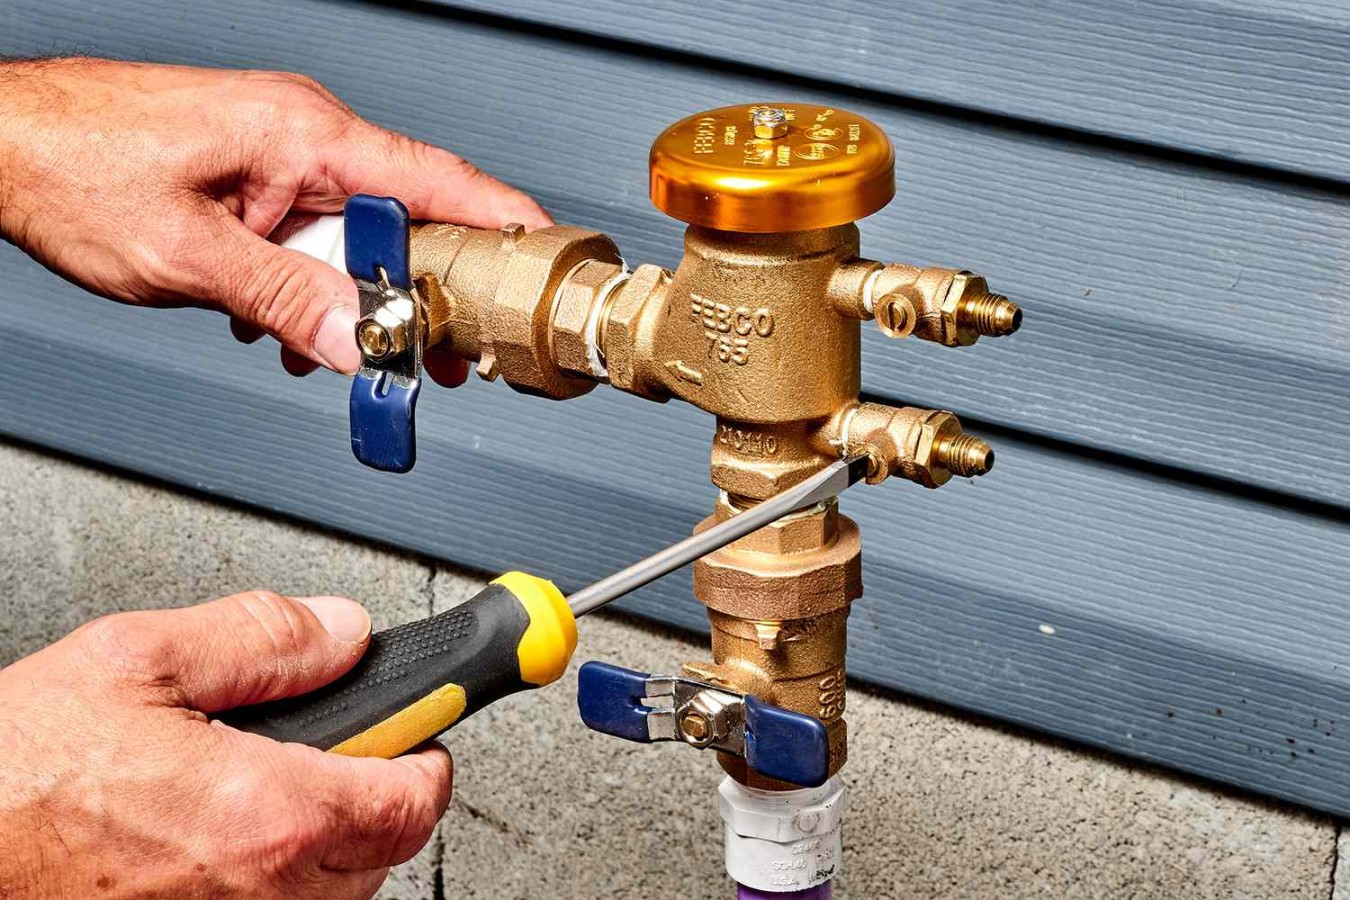
How to Winterize Your Sprinkler System
Winterizing your sprinkler system is a crucial step to protect it from freezing temperatures, which can cause significant damage. By taking the necessary precautions, you can ensure your system’s longevity and prevent costly repairs in the spring. This guide will walk you through the essential steps to winterize your sprinkler system effectively.
Step 1: Turn Off the Water Supply
The first and most important step is to turn off the main water supply to your sprinkler system. This will prevent water from entering the system and freezing, which can lead to pipe damage. Locate the shut-off valve, usually near the water meter, and turn it to the “off” position.
Step 2: Drain the System
Once the water supply is turned off, you’ll need to drain the system to remove any remaining water. This can be done manually or automatically. For manual draining, open all the valves on the sprinkler heads to allow the water to drain out. For automatic systems, use a compressed air compressor to blow out the water from the pipes. Be cautious when using compressed air to avoid damaging the system.
Step 3: Blow Out the System (Optional)
Blowing out the system with compressed air is an optional but highly recommended step. This process removes any residual moisture that may remain in the pipes and sprinkler heads. Connect a compressed air hose to the system’s main valve and turn on the air compressor. Be sure to follow the manufacturer’s instructions for the correct air pressure and duration.
Step 4: Disconnect and Store the Sprinkler Timer
If you have a digital sprinkler timer, it’s important to disconnect it from the power source and store it indoors. Extreme cold temperatures can damage the timer’s electronics. Store the timer in a cool, dry place to protect it from moisture and temperature fluctuations.
Step 5: Cover Exposed Pipes
If you have any exposed sprinkler pipes, cover them with insulation to protect them from freezing. You can use pipe insulation foam or heat tape to keep the pipes warm. Additionally, consider adding a layer of mulch around the base of any sprinkler heads that are located in exposed areas.
Step 6: Inspect and Repair
Before winterizing your system, take the opportunity to inspect it for any damage or wear and tear. Check for leaks, broken sprinkler heads, or damaged pipes. Repair any issues you find to ensure optimal performance in the spring. This proactive approach can save you time and money in the long run.
Conclusion
By following these steps, you can effectively winterize your sprinkler system and safeguard it from winter’s harsh conditions. Remember to inspect your system regularly throughout the winter to identify any potential problems. With proper care and maintenance, your sprinkler system will be ready to provide reliable irrigation when the warmer weather returns.

