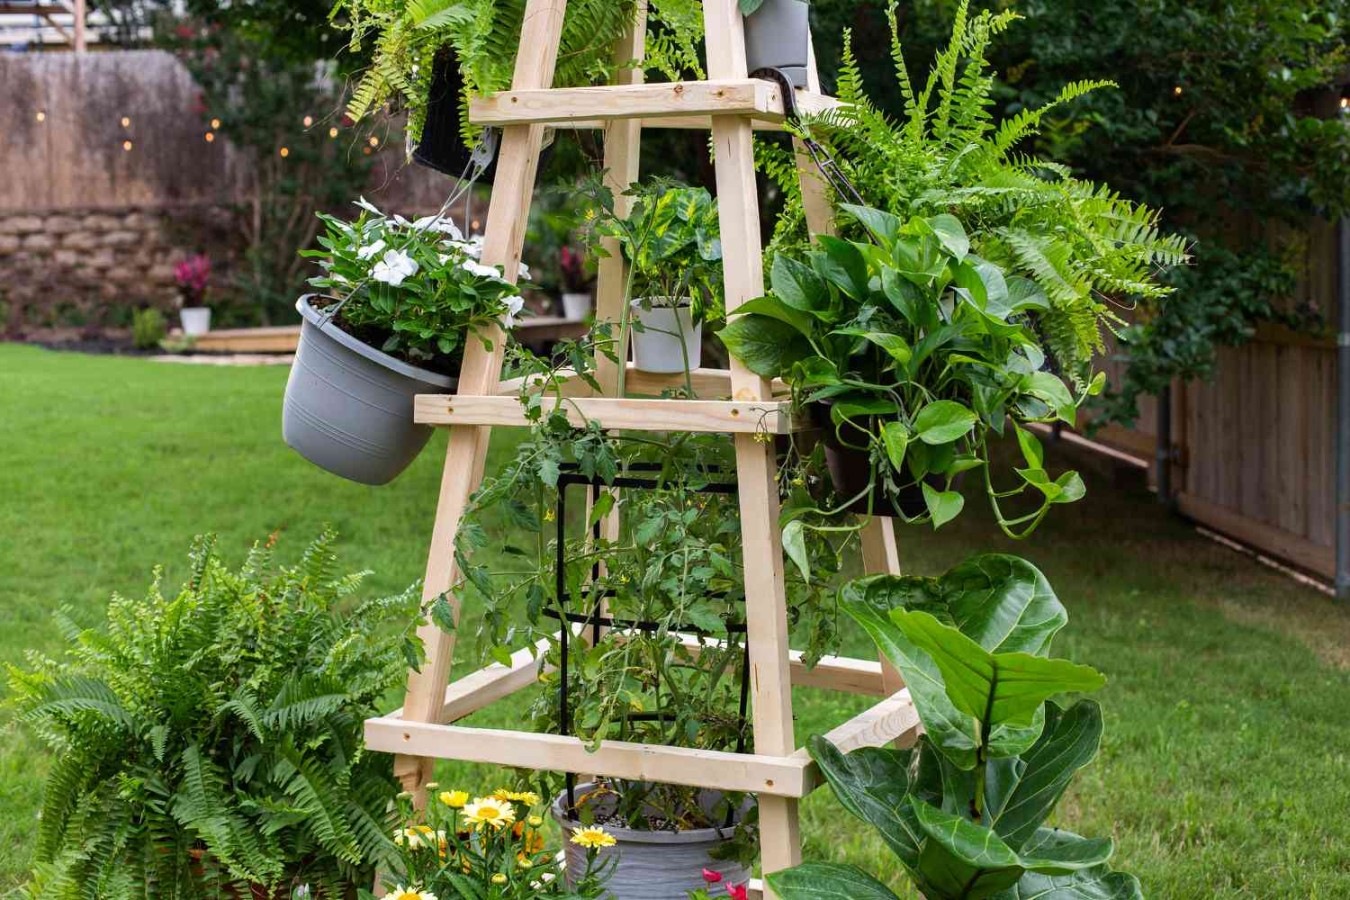
DIY Garden Trellis: A Step-by-Step Guide
A garden trellis is a versatile structure that can add vertical interest to your garden, providing support for climbing plants like vines, peas, and beans. Building your own trellis is a rewarding DIY project that can be customized to suit your specific needs and style.
Materials Needed:
Sturdy wooden stakes or posts
Step-by-Step Instructions:
1. Plan Your Trellis: Determine the size and shape of your trellis based on the space available and the plants you want to support. Consider the height, width, and depth of the structure.
2. Prepare the Posts: Cut the wooden stakes or posts to your desired height. Use a level to ensure they are straight and plumb.
3. Assemble the Frame: Attach the wooden slats or lattice panels to the posts using screws or nails. You can create a simple A-frame, a more complex lattice pattern, or a combination of both.
4. Secure the Trellis: Drive the posts into the ground, ensuring they are firmly anchored. You may need to add additional support, such as guy wires or stakes, to prevent the trellis from tipping over.
5. Install the Trellis: Place the trellis in your garden and adjust its position as needed. You may want to add a layer of mulch around the base of the trellis to help retain moisture and suppress weeds.
Tips for Success:
Choose sturdy materials that can withstand the weight of climbing plants.
Creative Ideas for Garden Trellis:
Vertical Herb Garden: Create a vertical herb garden by planting herbs like basil, oregano, and thyme in pots and hanging them from the trellis.
By following these simple steps, you can build a DIY garden trellis that will enhance the beauty and functionality of your outdoor space. With a little creativity and effort, you can create a unique and personalized trellis that will bring joy to your garden for years to come.

